Doors...What about them?
- army30th
- Jun 1, 2023
- 3 min read
Updated: Jul 14, 2023
Over the past several days, it's been quite nice outside. This allows me to do a little trim painting on the doors of my Centerdoor Sedan. Since the doors are mirror images, I will only describe in detail ONE door, unless there is something significant about the other that merits discussion.
I want to paint the window sill trim that sits on top of the Lock Board. In order to remove it, we need to remove the sash trim towards the rear of the door. (The trim to the front sash cannot be removed without removing the lift rod and glass, if the glass is still in the door).

The above trim will not come out just by releasing the four screws.

First, we remove the five screws holding the removable sash trim. (This is actually the opposite door from the one we're discussing. Forgot to photo that side). Then we remove this trim.

Once removed, and with some finesse with the door handle mechanism, the trim comes off.
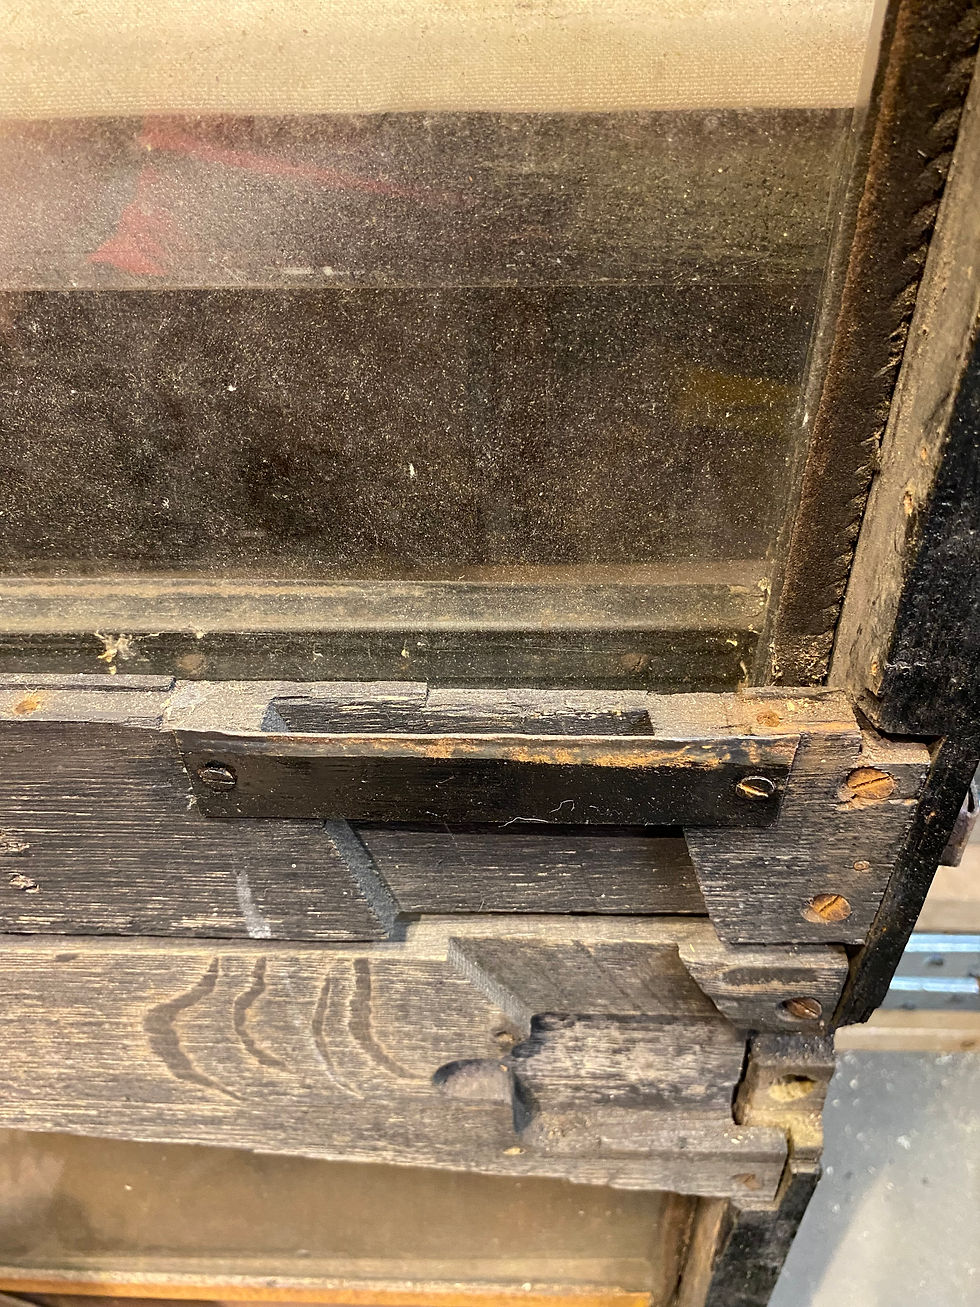
The indention on top of the door lock panel is for a rubber anti-rattle piece. This indent will need to be created on the other side. A couple of things to observe in this photo: how the glass felt is made and the holes of the interior fabric nailed on either side of the trim screw hole.
Below are a few items of note that apply to each door. Comments are after each photograph:
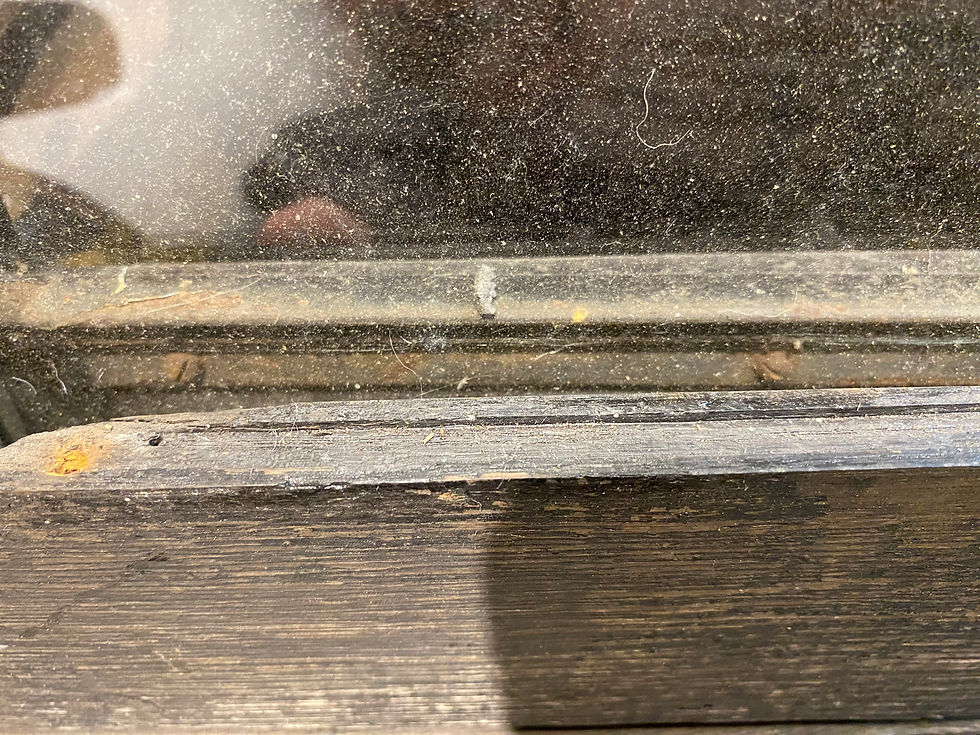
The strip of metal held in place by screws (under the belt rail), will clamp a rubber wiper that rests against the glass. This rubber is rotted completely in both doors. This feature is found in all 6 side windows.
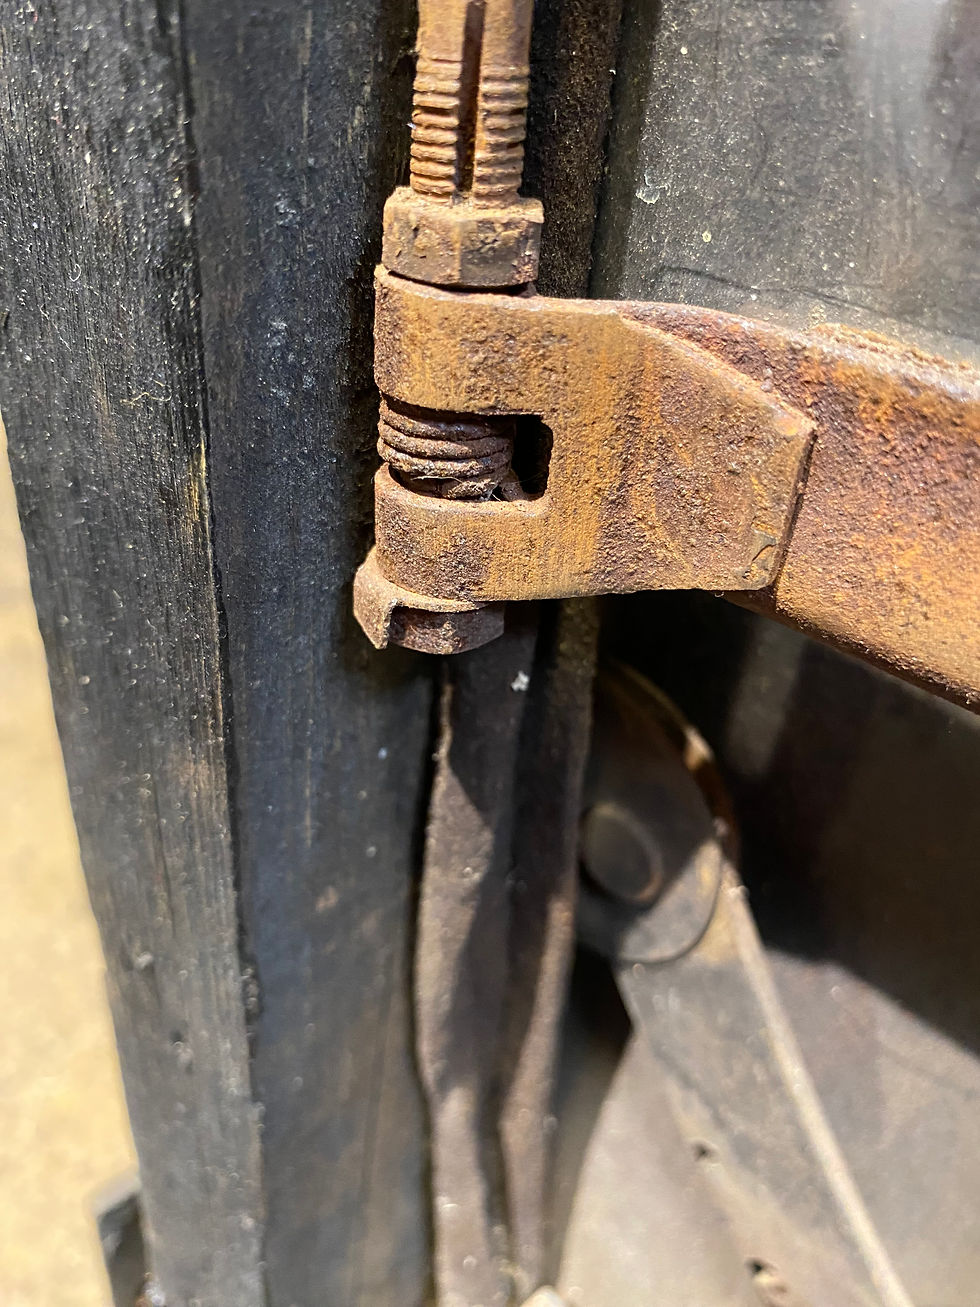
Four of the windows in the car are lowered and raised by a lift rod. The rod is attached to the glass channel with a spring, lock washer and two nuts.
The lift rod then rides in a notched trim channel, and by using the spring on the rod, it is able to latch into the notches to keep the window in a desired position. The lift rod cannot go any lower than the third notch from the bottom. That is the limit of the window.
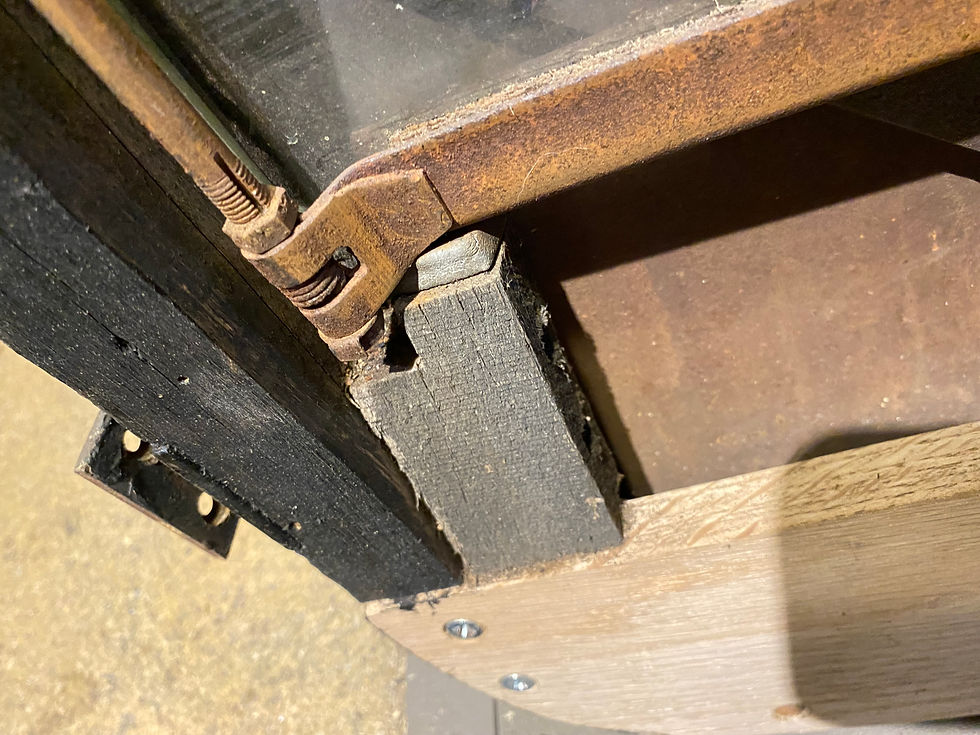
All six windows rest at the end of their travel limit on a pair of rubber impact bumpers. These are all present in the car but are solid as a rock and will need replacing. It is worth noting here that none of the side windows go completely down. There is always a section of glass above the belt rail.

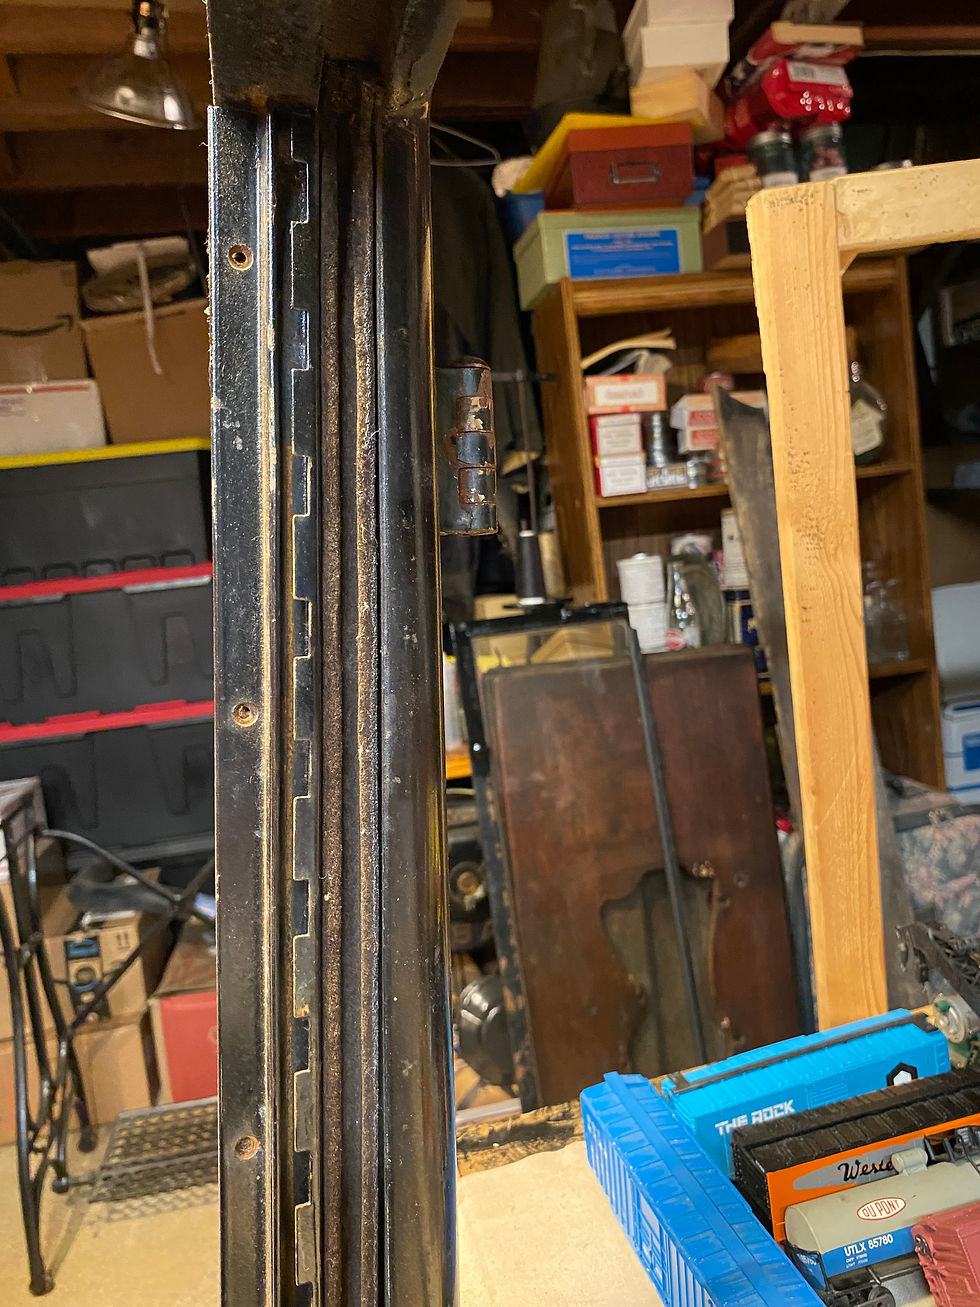
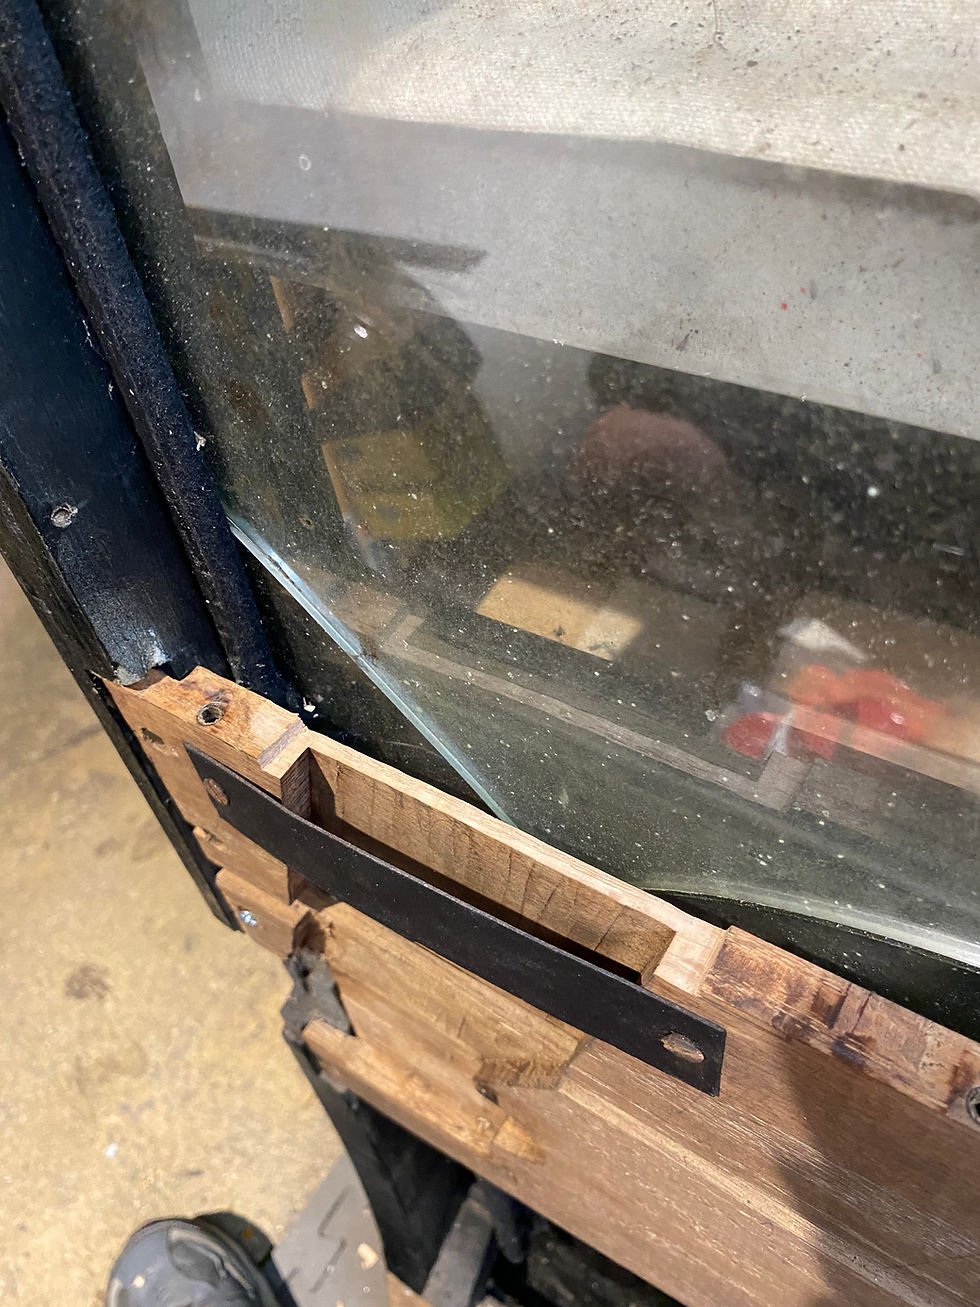
In a shot of the driver's door, we see most of the wood has been replaced, including the hinge pillar. Just barely visible on the right behind the glass felt channel, can be seen a lift arm. This arm has a brass roller on one end and is attached to the belt rail from inside the door via a large spring. This device aids in raising the window. Four of the windows in the car have this.
As stated earlier, a relief cut-out was needed on the driver's door for the anti-rattle rubber piece. The Lock Board was not recreated exactly like the original, thus there is no "trough" in the top edge of the board. All 6 side windows have a board with a trough at the top. This facilitates setting the trim pieces, whose attachment holes are counter sunk slightly.


Comments