Drawing a Centerdoor Sedan
- army30th
- Jun 17, 2024
- 3 min read
With any project, there comes a lot of: planning, thinking, measuring, more planning, more thinking, and LOTS of drawing. Especially a project where most of the structure you are repairing is either damaged or just doesn't exist.
Currently, the only wooden pieces that are reproduced for the wood body structure of a Centerdoor Sedan, are the roof rails with ribs; windshield header; and rear window assembly. These are made by "Fordwood", a company that is notoriously difficult to get a hold of by phone or email.
A previous owner of the sedan body had by some chance acquired the above items with attaching hardware (the hardware was labeled per the Fordwood website). The next owner I got the body from had misplaced these and it was a couple of weeks after I picked up the body, that he found the items in his shop, which, if I use them, would save me about $900 dollars. I'm not entirely sure they can be used, or to what degree they would need to be altered to fit my application.
I have always relished a challenge, and having some experience building up a body from practically nothing, I figured "why not?", and decided to dive in head first into the unknown.
Discovering other Centerdoor Sedan owners wasn't difficult. With texts and emails, I was able to connect with Stephen Heatherly and Terry Miller, both who own Centerdoors in various stages of repair. Terry has the wood for his sedan completely out of the car, and Stephen's car is being disassembled from what I gather. I also contacted Kathy Tagert who graciously went to her auto storage space and photographed parts of her car for me. Les Sumner was a huge help as he built an entire wood structure for his car that had been damaged in a fire. These individuals live nowhere near me. There are many others that I have spoken to briefly in this quest as well.
A local friend of mine has a Centerdoor about 15 miles from me. I made frequent trips to his place to measure various wood pieces. These cars range from 1919 to 1923.
I did an internet search for Centerdoor Sedans, including the MTFCA forum, and gathered pictures from auctions, partially disassembled cars, cars in junk piles, etc. Looking at each, I was able to determine where things go.
I also determined that on at least three of the cars, the distance between the sills is 29 3/4 inches. This is over the 1/2 inch rabbet of each sill.

Above is a photo showing envelopes that contain drawings I have made of the various pieces that were missing or damaged on my sedan body. All of the drawings are full-sized.
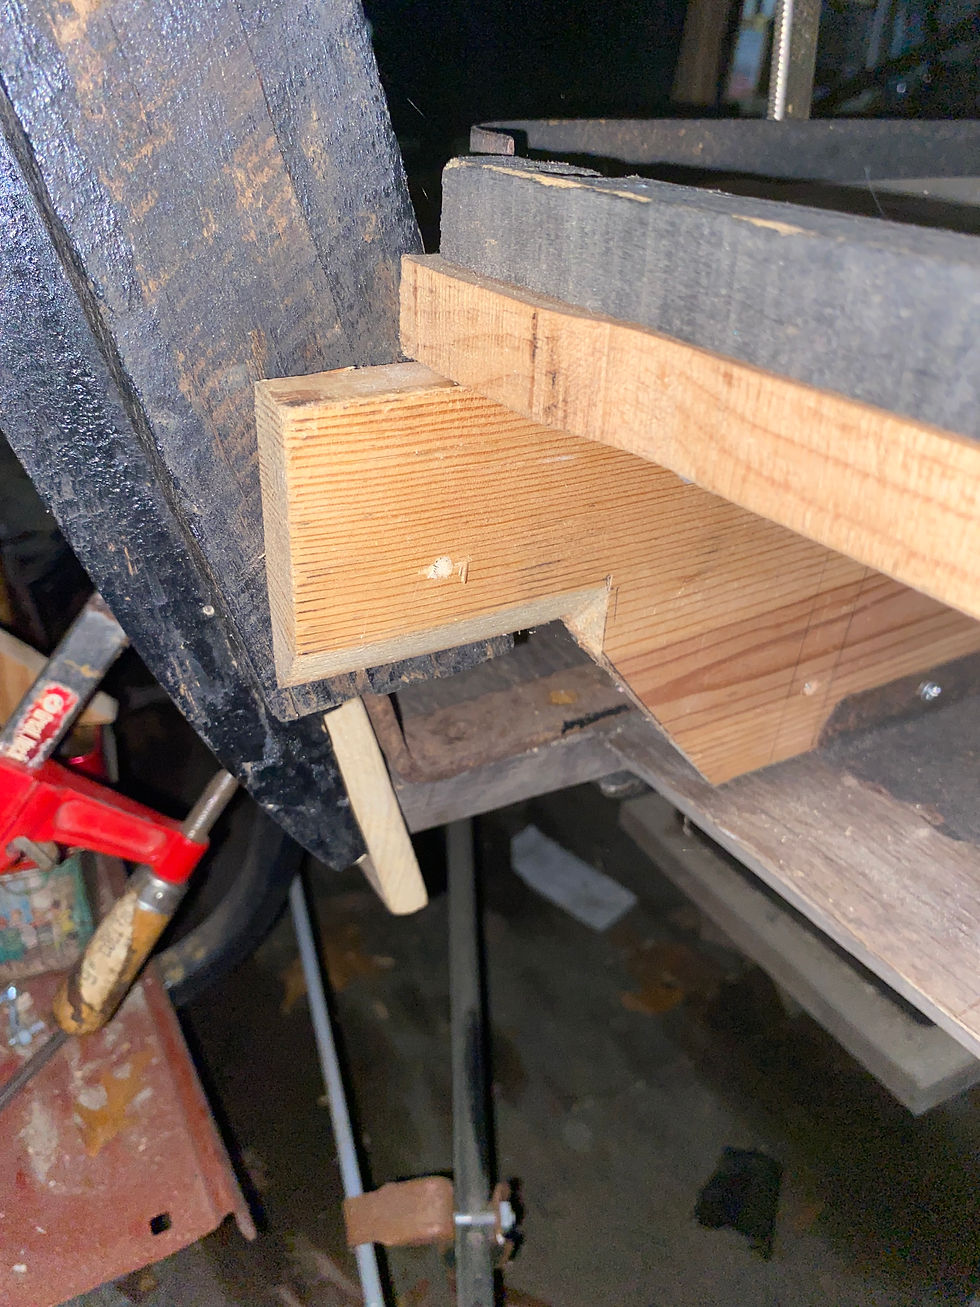
The next two photos show patterns for the Front Body Mount, which is attached to the BODY SILL, and the location of the PILLAR COUPE notch which is part of the sill. The photos show how these two pieces are placed together. A bolt runs through the mounting bracket on the frame at the engine and connects the Front Body Mount to the frame.


Here, we have the board that allows for access to the gasoline shut-off on the gas tank. This board can be made one of two ways. Only the cut-out and width of the board is full-sized. The actual length of the board would be 29 3/4 inches. This measurement was not possible on my friend's car because that board was broken.


My apologies for the blurriness of the above photos. This is a portion of the sill from the PILLAR COUPE notch to the first mortise and from the mortise to the inlet for the HINGE PILLAR bracket. It is not possible to photograph this drawing to show the entire piece. The measurements for this come from the remains of one of the original sills.
This photo shows the relationship of the front body mount to the notch on the sill. The drawing for the mount went through several revisions to come up with the dimensions here, comparing with the rotten originals and others taken from a destroyed car. There were slight differences between them, but nothing major. It is worth noting that all the original brackets for mounting the PILLARS COUPE, LOCK/HINGE PILLARS and rear quarter pillars were with the body when acquired and are in serviceable condition.


Comments