Front Quarter Panel Wood and its placement
- army30th
- Jul 21, 2023
- 4 min read
Updated: Jul 27, 2023
Wood....you just cannot get away from it, unless of course, you have a LATE Model T. And even then, there are a few wooden pieces.
In the Centerdoor, the front quarters consist of a PILLAR (COUPE), PILLAR (BODY HINGE), RAIL (FRONT QUARTER BELT), REST (FRONT QUARTER SASH), HEADER (FRONT QUARTER), and a PANEL BOARD. There is also a piece called a SUB SILL, which sits at the bottom most of the PILLARS and is screwed to the SILL ASSEMBLY.
The above names are from the Ford Parts Book drawing of a Sedan for 1922 and 1923. Similar parts are named as such for earlier Sedans. A customer needing a body part or wood part had to specify the body maker when ordering parts for repair or replacement.
In the photo below, we see everything except the HEADER and SUB SILL pieces. This is the passenger side quarter structure.

The goal of this exercise is to maintain the squareness of the window opening. In this case, I measured from the edge of the window molding at the PILLAR COUPE to the molding edge on the PILLAR BODY HINGE. That distance is, give or take a 1/16th of an inch, a constant 18 and 1/4 inches in width from top to bottom. This distance must be maintained the entire length of the pillars, or the window will not function properly.
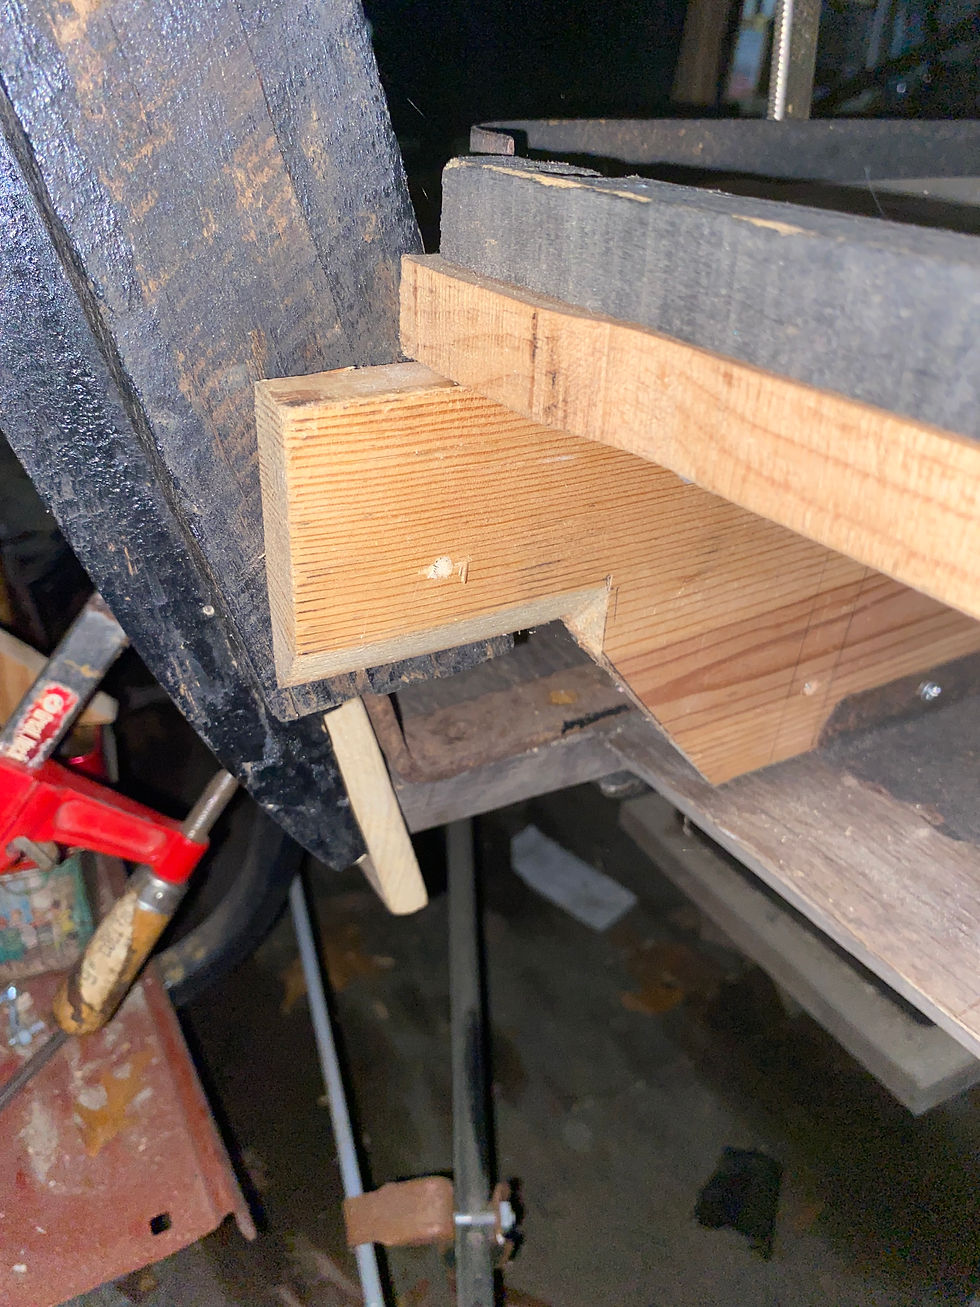
On the PILLAR COUPE, this side specifically, the slot for the PANEL BOARD isn't quite deep enough. The reason I know this is that I had it previously assembled and the window HEADER stood a tiny bit proud of the PILLAR sheet metal cover. That will not do, so we have to make a small adjustment.
We first unscrew these screws that hold the PANEL BOARD in place.

Then we remove the PANEL BOARD from the slot. This board is only attached with two screws in the PILLAR BODY HINGE. The PILLAR COUPE attachment for the board is a slip fit only. If you need to replace the glass, this board must be removed.

The perpendicular slots on the PILLAR COUPE are: the long one is for the metal surround that holds the windshield rubber, and the small one is for the placement of the RAIL (FRONT BELT), which sits on top of the INSTRUMENT BOARD, which is in turn, bolted to the angled bracket.
In the above photo, it appears to be a tight fit, so only a tiny portion of the slip fit needed to shaved to make the PANEL BOARD sit just a tiny bit lower. The square piece of stock running parallel to the PILLAR is the interior nailing strip. It stops at just above the SILL ASSEMBLY. Also in the above photo, you can see a screw just below a slot behind the glass. This is where the rubber window wiper is clamped to the inside of the RAIL (FRONT QUARTER BELT).
I mentioned in a different blog post that to remove the window garnish, you must remove the side garnish first or it wont come out. Just like on the doors. The non-slotted window garnish is to the front of the car here, which is the one you remove, whereas on the door the slotted garnish is towards the front of the car.
The next two photos show how the HEADER fits into the pillars on each side. The HEADER has tenons, and the pillars have mortises. The top photo shows that the mortise is a slot. That is incorrect and will be filled with a wooden piece to hide that mistake. The pillars will flex just enough to allow the tenons to slip into their respective mortises. The HEADER is then pocket holed and screwed to the pillars on both ends. Also visible are the pillar sheet metal surround mounting tabs. They are nailed to the PILLAR before the molding for the window rubber is screwed in place. The molding grabs a lip on the surround to keep everything in place. These tabs are missing on the driver's side pillar surround metal.
The bottom photo shows a pocket hole with a screw that points upward from the interior of the car. That screw is used to hold the ROOF RAIL (SIDE ASSEMBLY) to the PILLAR (BODY HINGE). It extends through the tenon and into the roof rail wood. The screw is hidden by the pillar upholstery and will never be seen.


After everything is back in place, the REST (FRONT QUARTER SASH) will need to be adjusted. The quarter window will latch in the second notch from the bottom. The door window latches in the third notch from the bottom.

It currently sits a tiny bit too high. There is a slot (it almost looks like an inlet for a hinge) on the PILLAR COUPE for this sash rest to sit in. There is no notch on the PILLAR BODY HINGE. The rest is just butt screwed to it.


Comments